
A trade contractor checklist is a structured prequalification tool that verifies legal compliance, financial protection, workmanship accountability, and fraud avoidance before you hire or accept a contractor for any project. Think of it as your first line of defense against schedule blowouts, unpaid work, and liability exposure. The checklist covers four sequential risk layers that must each clear before you move forward. Skipping any layer is where most small contractors and construction business owners get burned. Tools like OSHA Form 300A, state licensing boards, and certificates of insurance (COIs) are the core documents this process depends on.
What is a trade contractor checklist?
A trade contractor checklist is the industry's standard term for what practitioners also call a prequalification checklist or contractor vetting framework. It is a documented process that collects, verifies, and approves contractor credentials before a contract is awarded. According to MeltPlan's subcontractor prequalification guide, prequalification is an evidence-based process that protects against contractor failures, including schedule delays, quality issues, and cost overruns. That protection only works if the checklist is thorough and consistently applied.
The checklist is not a formality. It is a risk management decision. When you skip it, you are betting your project budget and timeline on assumptions instead of verified facts. For independent trade contractors and small construction business owners, one bad hire can wipe out the profit from three good projects.

What documents and elements belong on the checklist?
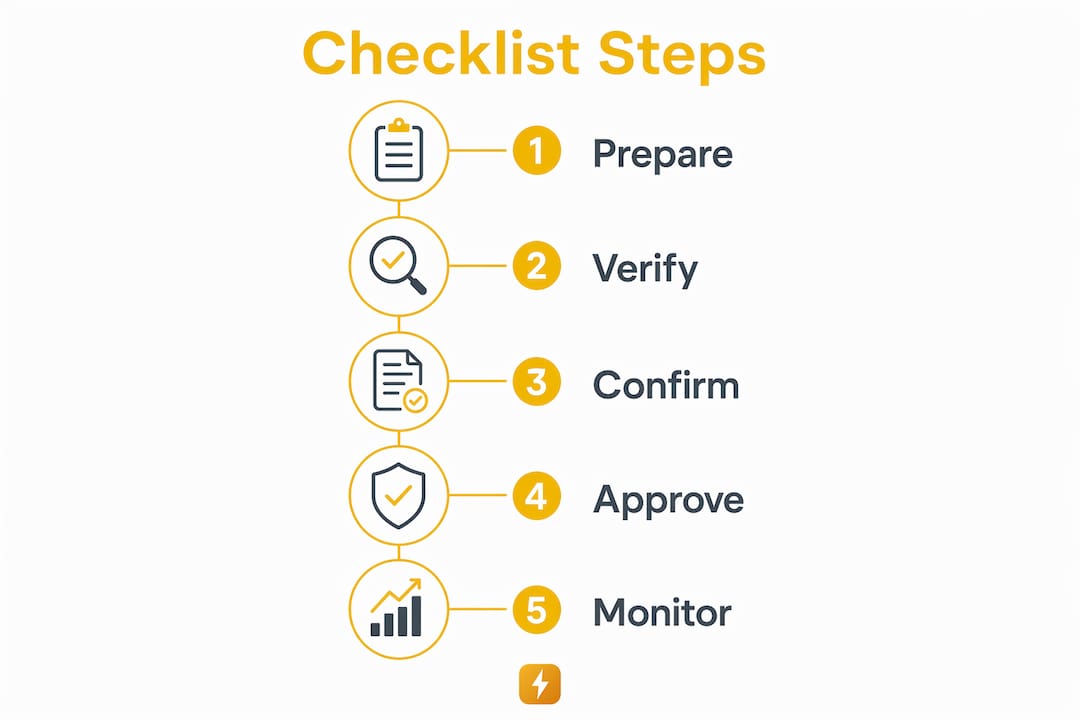
A complete contractor checklist template covers five major categories. Each category has specific documents and verification actions attached to it.
- Licensing: Confirm the contractor holds a current, valid license for the trade and jurisdiction. Verify the license number against the issuing state registry, not just the document the contractor hands you. Validating against registries is what separates real due diligence from paperwork collection.
- Insurance and bonding: Request a COI that names you or the property owner as a certificate holder. Confirm general liability and workers' compensation coverage are active and meet your project minimums.
- Safety records: Request the OSHA Form 300A summary for the past three years and Experience Modification Rate (EMR) verification for the past two years. These windows give you a meaningful picture of the contractor's safety history.
- Financial statements: For larger scopes, collect recent financials and bonding capacity to confirm the contractor can fund the work through completion.
- References and project history: Require a minimum of three verifiable references from comparable projects. Set a recency window, such as projects completed within the last two years, to keep the data relevant.
- Scope documentation: Define scope boundaries explicitly at the first conversation and document assumptions and allowances. Vague scope is the single biggest driver of disputes and change orders.
Pro Tip: When collecting insurance certificates, call the issuing agent directly to confirm coverage is active. Contractors occasionally submit expired COIs, and a quick phone call catches that before it becomes your problem.
How does a checklist improve project and client qualification?
A well-built checklist does more than screen out bad contractors. It creates a repeatable, objective approval process that removes gut-feel decisions from your workflow. Here is how it improves outcomes at each stage:
- Reduces disputes before they start. Confirming qualifications upfront means you are not discovering licensing gaps or insurance lapses mid-project. That discovery mid-project costs you time, money, and sometimes legal exposure.
- Creates objective approval decisions. Approval statuses such as approved, conditional, and not approved give you a defensible record of why a contractor was accepted or rejected. Conditional approval works well when a contractor meets most criteria but needs to provide one missing document.
- Clarifies scope and expectations. The checklist forces a structured conversation about project scope, timeline, and deliverables before work begins. That conversation prevents the "I thought that was included" arguments that derail projects.
- Reduces liability exposure. Confirming safety records and insurance coverage protects you if an incident occurs on your job site. ISO 45001 guides organizations to treat contractor prequalification plus on-site safety controls as a lifecycle process, not a one-time check.
- Supports ongoing contractor management. The checklist is not just for new contractors. Re-verify credentials annually or when a contractor moves to a new project type. Stale approvals create the same risk as no approval.
Pro Tip: Build your checklist into your bid invitation process. Send the prequalification form before you share project details. Contractors who won't complete it are telling you something important.
Best practices and common pitfalls
Most checklist failures come from two sources: trusting documents without verifying them, and mixing up prequalification checklists with job execution checklists.
Stage your risk layers sequentially. Staging checklist layers prevents you from wasting negotiation time with contractors who fail basic licensing or insurance requirements. Check legal compliance first. If that clears, move to financial and safety verification. Only then discuss scope and pricing.
Verify, don't just collect. Collecting a document is not the same as confirming it is valid. Check license numbers against state databases. Call insurance agents. Cross-reference OSHA logs against reported incident rates. Effective checklists define exact verification actions, not just document requests.
Separate your two checklist types. Practitioners maintain dual checklists: one for prequalification before contract award, and one for job site execution verification. Mixing them leads to under-vetting at the start and missed field controls during the project.
| Checklist Type | Purpose | Timing |
|---|---|---|
| Prequalification checklist | Verify credentials, insurance, safety records | Before contract award |
| Job execution checklist | Track field milestones, inspections, sign-offs | During active project |
Set documented minimums. Reference minimums and recency windows make your approval process consistent and defensible. "Three references from comparable projects in the last two years" is a standard you can apply to every contractor, every time.
How to create a custom checklist for your business
Building your own contractor checklist template does not require a legal team. It requires clarity about your trade, your typical project scope, and your risk tolerance. Follow these steps:
- List your trade contractor requirements by category. Start with licensing, insurance, safety, financials, and references. Add trade-specific items, such as EPA lead certification for renovation work or NFPA compliance for electrical contractors.
- Define verification actions for each item. Don't just list "provide license." Write "provide license number, verified against [state licensing board] registry."
- Set approval thresholds. Decide what constitutes approved, conditional, and not approved for each category. Document those thresholds so every team member applies them consistently.
- Choose a digital format. Paper checklists get lost. Use a digital tool, such as a Google Form, Airtable, or a purpose-built platform, to collect and track submissions. Digital records are searchable and auditable.
- Integrate the checklist into your onboarding workflow. Send it with every bid invitation. Make completion a condition of receiving project details. This filters out unqualified contractors before you invest time in them.
- Schedule annual re-verification. Set a calendar reminder to re-run the checklist for active contractors each year. Licenses expire. Insurance lapses. EMR scores change. Understanding contractor business risk means treating qualification as an ongoing process, not a one-time gate.
Pro Tip: Add a "scope confirmation" section to your checklist where the contractor signs off on the project scope before you finalize the contract. This one step eliminates most scope creep disputes.
Key takeaways
A trade contractor checklist is the most reliable tool you have for protecting your projects from unqualified contractors, liability exposure, and costly disputes.
| Point | Details |
|---|---|
| Four risk layers | Cover legal compliance, financial protection, workmanship accountability, and fraud avoidance in sequence. |
| Verify, don't just collect | Confirm licenses against state registries and call insurance agents to validate active coverage. |
| Use dual checklists | Keep prequalification and job execution checklists separate to avoid gaps in vetting and field oversight. |
| Set documented minimums | Define reference counts, recency windows, and approval thresholds to keep decisions consistent. |
| Digitize and re-verify annually | Use digital tools to track approvals and re-run the checklist each year to catch expired credentials. |
The checklist is the cheapest insurance you'll ever buy
I've watched contractors skip the prequalification process because it felt like extra paperwork. Then they spent three months chasing a subcontractor who wasn't properly bonded, or they absorbed a liability claim because a worker's comp certificate had lapsed. The checklist doesn't feel urgent until the moment you need it, and by then it's too late.
The mistake I see most often from newer contractors is treating the checklist as a one-time document request rather than a verification process. Collecting a license number is not the same as confirming it's valid. That distinction matters enormously when something goes wrong on a job site.
Technology has made this easier. Platforms that automate document collection, flag expiration dates, and generate approval records remove most of the friction. The contractors I've seen vet subcontractors and clients together using a structured digital process consistently report fewer disputes and faster project starts. The checklist is not bureaucracy. It is the foundation of a professional operation.
— Colin
How Snapqualify helps you qualify contractors and clients faster
Snapqualify is built for exactly this kind of work. The platform gives trade contractors and small construction business owners a structured intake and screening process that handles the heavy lifting of client and contractor qualification.

With Snapqualify, you send a branded qualification form, and the platform analyzes responses using AI and experience-based heuristics to generate a color-coded SnapScore. That score tells you immediately whether a client or contractor is a strong fit, a conditional prospect, or a risk to avoid. You get the data security and audit trail that makes your approval decisions defensible. If you're ready to stop guessing and start qualifying with confidence, Snapqualify is the tool that fits directly into your existing workflow.
FAQ
What is a trade contractor checklist used for?
A trade contractor checklist is used to verify a contractor's licensing, insurance, safety records, and references before awarding a contract. It protects project owners from schedule delays, liability exposure, and unqualified hires.
What documents are typically required on a contractor checklist?
Standard documents include a valid trade license, certificate of insurance naming the property owner, OSHA Form 300A for the past three years, EMR verification for the past two years, and at least three project references.
How is a prequalification checklist different from a job execution checklist?
A prequalification checklist vets contractor credentials before contract award. A job execution checklist tracks field milestones and inspections during the active project. Mixing the two creates gaps in both vetting and site oversight.
How often should you re-verify a contractor's qualifications?
Re-verify contractor credentials at least once per year and whenever a contractor moves to a new project type. Licenses expire and insurance lapses, so annual re-verification prevents stale approvals from creating new risk.
What approval statuses should a contractor checklist include?
A contractor checklist should use three statuses: approved, conditional, and not approved. Each status should include the assessor's name, date, and an expiration period to keep records current and defensible.